Effortlessly Convert Image Data to Excel Spreadsheets Using Data from Picture
Introduction
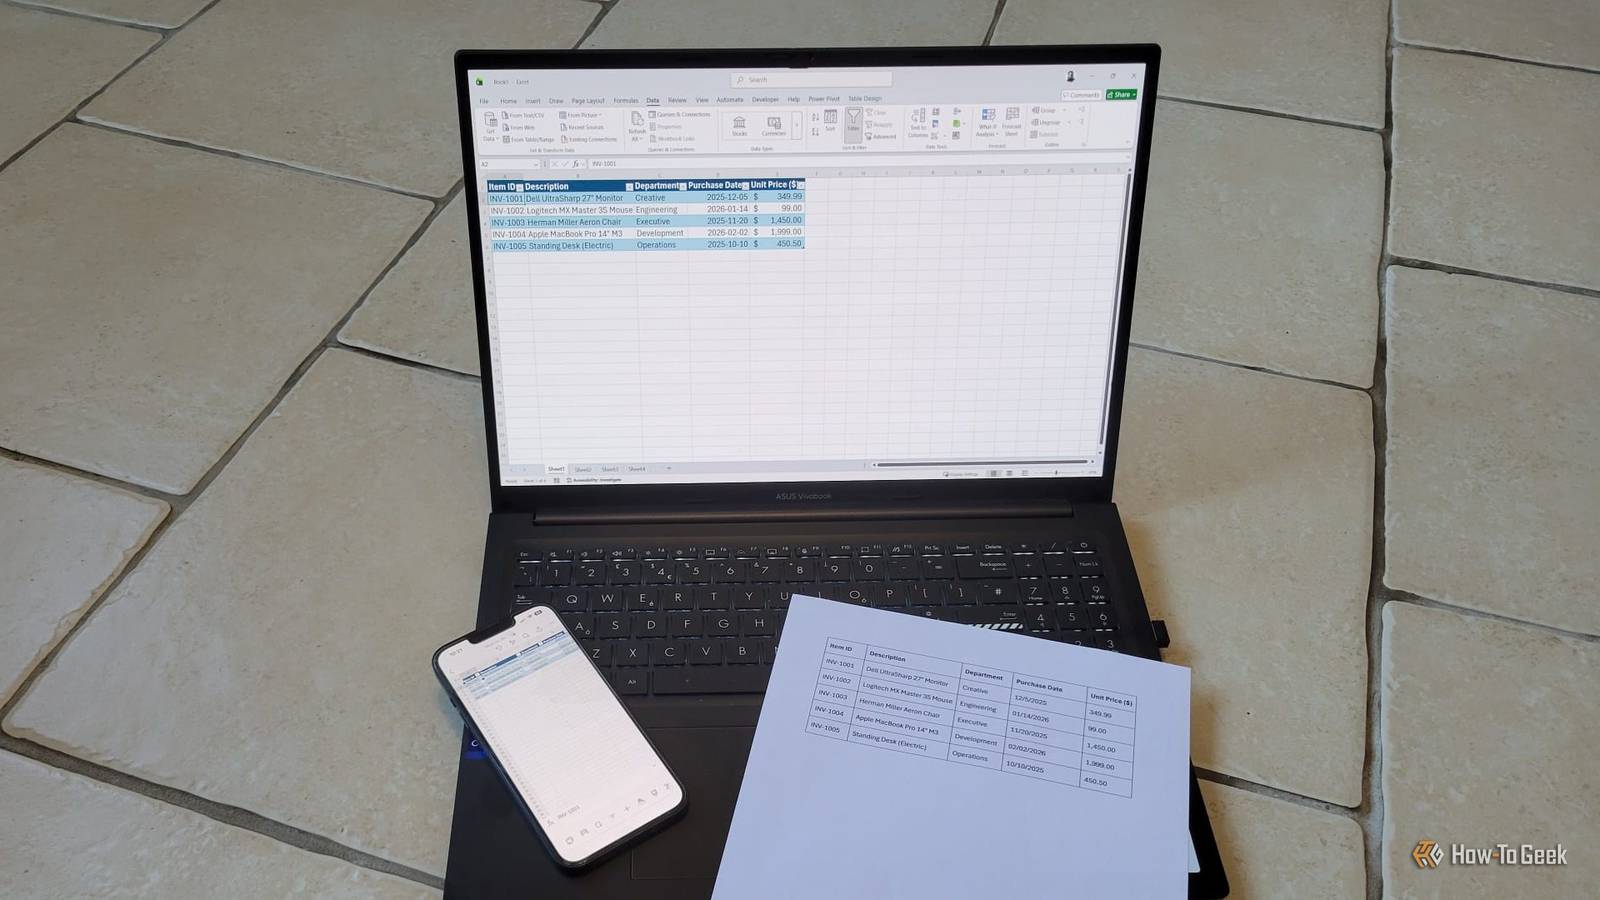
Typing data from a printed document, photograph, or screenshot into Excel is tedious and often leads to annoying typos. Thanks to a built-in feature called Data from Picture, you can skip the manual entry and let Excel do the heavy lifting. Whether you're on your phone, tablet, or computer, this tool reads data from an image and turns rows and columns into editable cells—in seconds. This guide walks you through every step so you can start transforming your receipts, tables, and reports into digital spreadsheets without touching a keyboard.

What You Need
- Microsoft Excel – The feature is available in Excel for Microsoft 365, Excel for the web, and the Excel mobile app (iOS and Android).
- An image or screenshot containing tabular data (rows and columns). Common examples: printed tables, invoices, screenshots of websites or PDFs.
- Clear, legible text – The tool works best with high-contrast images where text is sharp and not skewed.
- A stable internet connection – Data from Picture uses Microsoft’s cloud-based AI to process images, so an active internet connection is required (except for some offline fallback scenarios in newer builds).
Step-by-Step Instructions
Step 1: Prepare Your Image
Before you open Excel, make sure the image is as clean as possible. Crop out any unnecessary background, adjust brightness to increase contrast, and ensure the table is oriented upright. If you’re using a screenshot, avoid capturing UI elements like scrollbars or menus that might confuse the AI. A well-prepared image significantly improves accuracy.
Step 2: Open Excel and Create a New Workbook
Launch Excel on your device. On a desktop or laptop, start with a blank workbook. On mobile, open the Excel app and tap the + icon to create a new file. You can also start from an existing workbook if you prefer to insert the data into a specific sheet.
Step 3: Access the Data from Picture Tool
We interact with the feature differently on each platform:
- Windows / Mac (Excel for Microsoft 365): Go to the Data tab on the ribbon. In the Get & Transform Data group, click From Picture then Picture from File.
- Excel for the web: Open the workbook, click the Data tab, and choose From Picture from the ribbon. You’ll be prompted to upload an image file.
- Excel mobile (iOS / Android): Tap the + icon at the top of the sheet, then select Data from Picture. You can either take a new photo using your device’s camera or choose an existing image from your gallery.
No matter which method you use, Excel will open a dialog to select your image.
Step 4: Select and Adjust the Image
Choose the prepared image file or snap a photo if you’re on mobile. Excel will upload the picture and display a preview pane with the detected data highlighted in rectangles. You have a few options to fine-tune the extraction:
- Rotate or crop – If the table appears tilted, use the rotation buttons to straighten it. Drag the crop handles to focus only on the table.
- Choose data type – For simple tables, leave the default. For more complex layouts, you can select whether the data is a table, a list, or a combination.
- Select region – If the image contains multiple tables, you can adjust the selection rectangle to include only the area you want.
Once you’re satisfied, click Insert, OK, or Import (depending on your platform) to let the AI process the data.
Step 5: Review and Correct the Extracted Data
After processing, Excel opens a side pane (or a pop-up on mobile) showing the data as it would appear in a spreadsheet. The tool highlights any cells it is unsure about. You should:
- Look for red underlines or flagged cells – these indicate possible errors.
- Compare the extracted values against the original image. Common mistakes include misread numbers (e.g., 0 vs O) or merged cell confusion.
- Edit directly within the review pane. Click on a flagged cell, and you can type the correct value. You can also adjust the column headers if the tool misidentified them.
Don’t rush this step. A few seconds of proofreading can save you from major data mess-ups later.
Step 6: Insert the Data into Your Worksheet
Once you’re happy with the preview, click Insert Data (or the equivalent button). Excel will place the extracted rows and columns starting from the active cell in your spreadsheet. The data appears as plain values, and formatting (like bolding, alignment, or borders) from the original image is typically not preserved—you can apply your own formatting afterward. If the tool added a header row you don’t want, simply delete or adjust it.
Tips for Best Results
- Maximize contrast: Black text on a white background works best. Avoid colored text, gradients, or watermarks behind the data.
- Use high resolution: Low-quality screenshots produce more OCR errors. Always capture or save images at the highest resolution possible.
- Stick to simple tables: Merged cells, nested tables, or complex multilevel headers may confuse the AI. If possible, flatten the table structure before capturing.
- Clean up after import: Use Excel’s Flash Fill or Text to Columns to fix any remaining formatting issues. The image tool does not handle irregular separators well.
- Check for blank rows: Sometimes empty cells in the image are interpreted as spaces. Use the Find & Select > Go To Special > Blanks feature to locate and remove them.
- Combine with other tools: For pages with many tables, consider using Excel’s From Web or From PDF features as alternatives.
With these steps and tips, you can turn any image or screenshot into usable Excel data in just a few minutes—no more manual typing. Whether you’re digitizing old receipts or pulling data from a presentation slide, Data from Picture puts the power of AI to work for you.